With the shell complete, your attention now shifts to the intricate network of systems and finishes that transform your house into a high-performance home.
Chapter 7: The Conductor’s Guide
Chapter 8: Beyond Protection
Chapter 9: Invisible Brilliance
This part of the process is about management. With the home “in the dry,” your role shifts to that of a conductor, orchestrating all the trades—plumbers, electricians, and finishers—to create a harmonious final product.
Key Milestones: Establishing communication rhythms, managing schedules, and coordinating the final inspections and Certificate of Occupancy.
During the peak of construction, your primary tool is communication. Establish a regular meeting schedule with your builder—once a week, on-site—to review progress, discuss upcoming decisions, and address any concerns.
Request a detailed construction schedule and understand the critical path. Document every significant decision and change order in writing. By staying engaged and fostering a relationship of mutual respect, you can effectively orchestrate a harmonious process.
With your builder, set a standing day and time for your weekly on-site progress meeting.
Request a copy of the master construction schedule and highlight key dates where your input will be required.
Start a dedicated digital folder to save all written communications, change orders, and photos of progress.
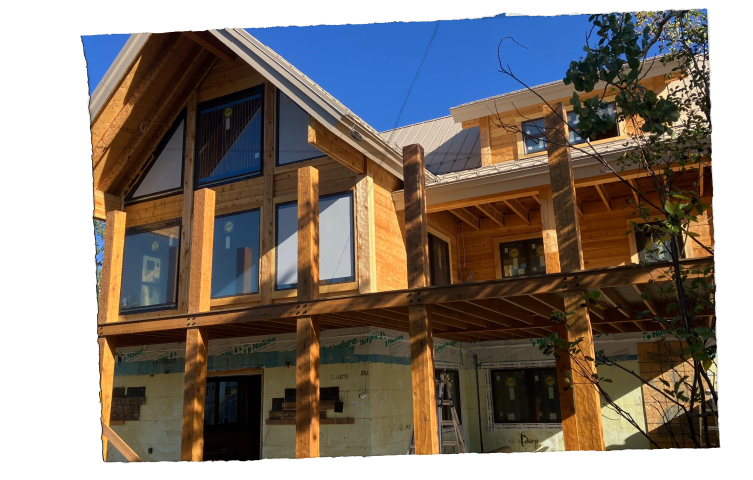
With the home sealed, the focus turns to the permanent exterior finishes. This includes the critical application of stain and sealant, as well as the installation of roofing and decking.
Key Milestones: Final stain and sealant application, installation of roofing material (composition or steel), and construction of decks/porches.
Your home’s exterior finishes are its first impression and its primary shield. We exclusively recommend tested, durable products from Sascho: their oil-based “Transformation Log & Timber” stain provides exceptional UV and moisture protection.
Equally important is the sealant. We use Sascho’s “Conceal” for a tight caulk line or “Log Jam” for a rustic chink style. Both flex with the wood to provide a durable, weather-tight seal.
We also strongly recommend a critical upgrade: covering the entire roof sheathing with a self-healing “ice and water shield.” This membrane acts as a redundant, waterproof barrier beneath your primary roofing.
Never choose from a brochure. Apply large samples to a scrap log on-site and view them at different times of day.
Confirm your final choice of roofing material (composition or steel) and decking (cedar or composite).
Explicitly confirm with your builder that the full “ice and water shield” underlayment is included in your contract.
This is the final stage of the build, where the “invisible” systems (plumbing, electrical) are installed, and the “visible” craft (cabinets, flooring, fixtures) transforms the structure into a home.
Key Milestones: Interior rough-ins (plumbing, electrical, HVAC), installation of finishes (drywall, flooring, cabinets, countertops), and final hardware/fixture installation.
The “invisible” systems are the workhorses of your home. Your HVAC system should be designed for the unique thermal mass of a log home. Your electrical layout should be future-proofed with extra outlets and conduit for technology upgrades.
Once the mechanicals are in, the home’s personality emerges. The heart of the home is often the kitchen and bathrooms. Your selection of cabinets, countertops, and appliances should be finalized early to ensure all plumbing and electrical rough-ins are placed correctly.
Finally, the “jewelry” of the home is installed: faucets, sinks, lighting fixtures, and hardware. These final details have an outsized impact on the home’s overall feel and complete the interior button-up.
Provide your builder with the official specification sheets for all appliances *before* the mechanical rough-in begins.
In a spreadsheet, list every room and specify your final choices for flooring, doors, cabinets, countertops, and paint.
Place your orders for all lighting fixtures, faucets, sinks, and hardware. Delays are common, so order these well in advance.
Schedule a walk-through with your electrician before drywall. Physically confirm the location of every switch, outlet, and light fixture.
With mechanical systems in place and interior finishes selected, your house is truly
becoming a home. The major decisions are made, and you are ready for the final,
perfecting touches.